A note on the original budget estimates
The original equipment guide uses indicative budget estimates. Current prices vary by supplier and location; the principles below do not depend on a fixed shopping total.
The Sushi Equipment Myth
Walk into a specialty kitchen store and you'll find yourself staring at a dizzying array of sushi tools, each one promising to transform your home kitchen into a professional sushiya. The reality is far simpler: most of what you see is marketing. The Japanese approach to sushi-making emphasizes mastery over equipment—a skilled chef can create exceptional sushi with just a handful of well-maintained tools. Understanding the difference between what you genuinely need and what represents aspirational spending is the first step toward building a functional, budget-conscious sushi station at home. This tutorial will help you identify the essential items and understand where investing a bit more pays genuine dividends.
The Bamboo Mat: Your Non-Negotiable Investment
A bamboo rolling mat (makisu) is the one piece of equipment you cannot work around. At $3 to $8, it's also the cheapest investment you'll make. The makisu provides the structural support needed to roll tight, even cylinders and allows you to apply consistent pressure along the entire roll. Bamboo conducts heat away from your rice, which prevents stickiness, and the material's slightly textured surface grips the nori wrapper, preventing slipping during the critical roll-forward motion. Purchase a natural, untreated mat rather than plastic alternatives—the difference in performance is significant. A standard 10-inch mat is appropriate for home use; larger professional mats (12 inches) are designed for high-volume production and offer no advantage at the home scale.
The Knife: Where You Should Splurge Slightly
A single good knife is more valuable than a knife set. You need one sharp, well-balanced blade for slicing fish and vegetables. Unlike specialty knives that demand specific techniques, a standard 7 to 8-inch chef's knife or a dedicated yanagiba (sushi knife) will serve you well for $30 to $80. Stainless steel is fine for beginners—carbon steel requires more maintenance. The key quality metric is edge retention and ease of sharpening. Avoid cheap novelty knives and single-use gadgets; they dull quickly and create frustration. A sharp knife is inherently safer than a dull one because it requires less force and gives you better control. Even a budget knife from a reputable brand will outperform an expensive but poorly constructed alternative.
Cutting Board and Work Surface
Your cutting board should be wooden or wooden-composite, never glass or stone. Glass dulls knives faster than any other material and creates unnecessary noise and damage. A wooden board 12 by 18 inches gives you adequate workspace without consuming your entire counter. Choose a board you can clean thoroughly and keep separate surfaces for raw seafood and ready-to-eat ingredients. Wood and food-safe plastic boards are both options. Budget $15 to $30 for a decent board. Beyond this, you need only a clean, dry counter space large enough to work comfortably. Some sushi chefs prefer silicone baking mats over the counter for sticky rice work—these cost $5 to $10 and are worth the small investment if you find them helpful. A simple spray bottle for water ($2) and a kitchen towel complete your basic setup.
Rice Cooking: Pot vs. Rice Cooker Economics
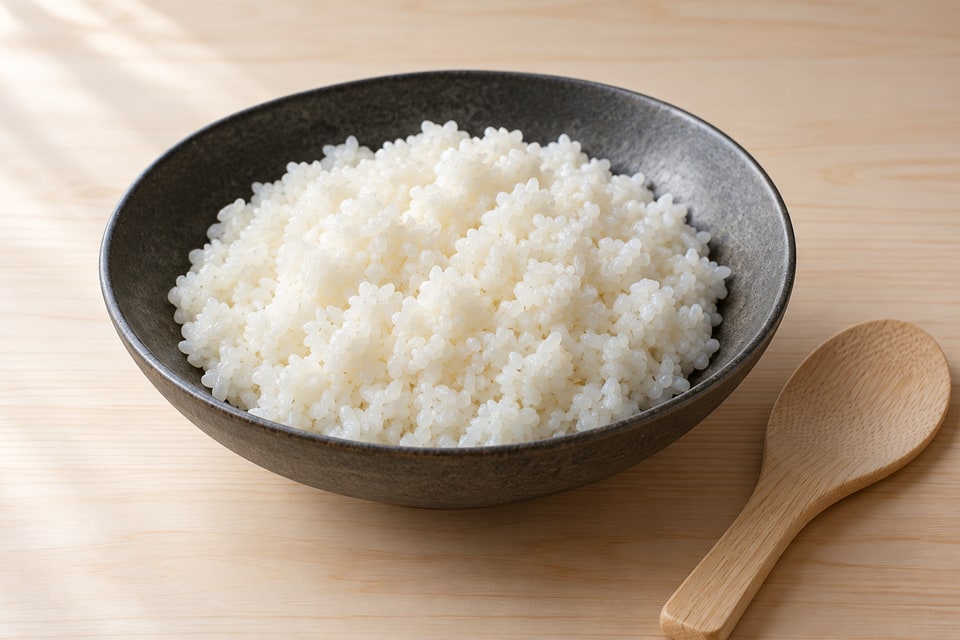
Here's where budget consciousness gets nuanced: a rice cooker costs $20 to $40 for a basic model, while a decent pot costs $10 to $20. The rice cooker advantage is consistency—it removes guesswork from water ratios and heat management. For someone cooking rice multiple times a week, this consistency is worth the extra $20. However, a heavy-bottomed stainless steel pot works fine if you're disciplined about measuring and timing. Never use a thin aluminum pot; it creates hot spots and uneven cooking. If you already own a decent pot, start there and graduate to a rice cooker only if you find rice cooking stressful. A wooden hangiri (rice tub) costs $15 to $35 and is genuinely useful for cooling and seasoning rice, but a wide, shallow wooden or ceramic bowl serves the same purpose.
The Hangiri and Cooling Solutions
A traditional hangiri distributes heat evenly and absorbs excess moisture as you season rice and fan it to cool. If you can't locate or afford a real hangiri, a wide ceramic bowl or even a large wooden salad bowl works acceptably. The key is surface area—you want something wide and shallow rather than deep. Avoid metal bowls; they absorb no excess moisture and can react with the vinegar, leaving a metallic taste. For cooling rice, you need air circulation: a paper fan, an electric fan, or even fanning with a wooden spoon. This part of the process requires maybe $5 in total investment. The cooling stage is critical because the combination of fanning, moisture evaporation, and vinegar absorption creates the characteristic glossy, slightly firm texture of sushi rice. Don't rush this stage even if you're tempted to skip it.
Secondary Tools That Stay Optional
A fish slicer (yanagiba) is a lovely tool but not essential when starting out. A utility knife or sharp chef's knife handles slicing adequately. A bamboo strainer for washing rice is useful but not mandatory—you can use a fine-mesh sieve or even a colander. Nori scissors are nice but the mat method of cutting rolls works fine. An eel fork (unagi fork) is specialty equipment for eel preparation—you won't need this for basic sushi. Silicone finger cots help prevent rice from sticking to your hands, but they're optional; wet hands achieve the same result. Specialty plates and serving vessels are kitchen decor, not sushi-making equipment. Every piece of equipment beyond your knife, mat, and bowl is genuinely optional and should be adopted only when you identify a specific problem it solves.
Building Your Setup Thoughtfully
Start with the absolute essentials: a $6 bamboo mat, a $30 sharp knife, a $15 wooden board, a $20 pot or rice cooker, and a $5 bowl for rice cooling. This foundational setup totals approximately $75 to $85 and covers every technique in the beginner track. As you cook more, you'll naturally identify gaps in your workflow. Maybe you'll want a yanagiba for cleaner fish cuts, or a wooden hangiri for better moisture distribution. These upgrades make sense only when you've tried the basic method and understand why you need something different. This intentional approach prevents the common mistake of accumulating gadgets that sit unused in a drawer. Sushi mastery is about technique and understanding, not equipment acquisition. The best investment you can make is not a tool but practice with the tools you have.
Keep these details in mind.
- A bamboo mat, sharp knife, wooden board, rice cooker or pot, and a bowl for cooling rice form a complete beginner setup for under $85
- Invest in knife quality but resist the urge to collect specialty equipment; one good blade outperforms a drawer full of gadgets
- A traditional hangiri is nice but a wide ceramic bowl serves the same cooling and rice-seasoning function
- Stainless steel knives are easier to maintain than carbon steel for beginners; focus on sharpness and balance over material mystique
- Every piece of equipment beyond the essentials should solve a specific problem you've identified through practice